Self-hosted
Configuration
Rooms
Sessions
User Management
Bookings
Please make sure your server environment is set up and meets the requirements before continuing.
Overview
The procedure for installing classroombookings should be straightforward for those familiar with web based software.
- Ensure the web server is configured to host PHP applications, and create a space for classroombookings (e.g. a folder or virtual host) that is accessible over HTTP.
- Create a new empty database and a database user that has full access to this database.
- Download the latest version and extract the files to a web-accessible folder on the server.
- Ensure the local and uploads directories have 'write' permissions. On Unix-based systems, this is usually 664 or 775.
- Visit the URL of the folder where you extracted the files.
- This will load the installer which will guide you through the rest of the installation process.
- For more detailed guidance, continue reading the steps below.
Create the database
classroombookings needs its own empty database. The procedure for doing this will vary depending on your server or hosting configuration, but you will commonly use an administrator-level account (such as 'root') to create the database and user account.
It is easy to do this using visual tools like Adminer, HeidiSQL and phpMyAdmin, but it is possible to do it via the mysql command line client.
Using the command-line client
This example below shows how to log in to a server as the root user, creating the database crbs_db and user crbs_user with the password 6vTccw7zYF. Replace these with your own choice of names and password.
$ mysql -u root -p

Enter password: ********
Welcome to the MariaDB monitor.  Commands end with ; or \g.
Your MariaDB connection id is 3285
Server version: 10.3.8-MariaDB mariadb.org binary distribution

Copyright (c) 2000, 2018, Oracle, MariaDB Corporation Ab and others.

Type 'help;' or '\h' for help. Type '\c' to clear the current input statement.

MariaDB [(none)]> CREATE DATABASE crbs_db;
Query OK, 1 row affected (0.010 sec)

MariaDB [(none)]> GRANT ALL ON crbs_db.* TO 'crbs_user' IDENTIFIED BY '6vTccw7zYF';
Query OK, 0 rows affected (0.003 sec)

MariaDB [test_db]> exit;
Bye
Make a note of the database name, username and password. You will need them later.
Download, extract and upload
If you have the ability to download and extract zip files on the server itself, it's quicker, safer and more efficient to do that.
This example shows how to do this on the command line using the tools wget and unzip. Replace the URL to the zip file with the latest version, from the Download page. Change directory into the web server document root or classroombookings folder first, as the zip file will be extracted into the current folder.
$ wget https://github.com/craigrodway/classroombookings/releases/download/v2.6.4/crbs-2.6.4.zip
$ unzip crbs-2.6.4.zip -d .
If you don't have command line access to the server, download the zip file of the latest version from the Download page and save it to your computer. Extract the archive to a temporary folder. You will then need to transfer all of these files to the server. How you do this will depend on what protocols your server supports, but this is commonly done via SCP, SFTP or FTP.
Filesystem permissions
There are two folders that need 'write' permissions from the web server user. This is essential for core functionality (user sessions and log files) and uploaded files (user import CSV, school logo, room photos) to work properly.
On Linux systems, this is usually represented by 664 or 775 in numeric values; or 'drwxrwxr-x' in its string representation.
If these aren't already set, you should be able to do this on the command line like in this example:
$ chmod -R 775 local
$ chmod -R 775 uploads
If you don't have command line access, most file transfer applications such as WinSCP or FileZilla allow these to be set via the interface.
On IIS, you will usually need to grant permission to the IIS pool user account on the folders.
Run the installer
Using a browser, visit the IP address or URL on the server where the classroombookings files were extracted to that are served by the web server. You should see the following page.
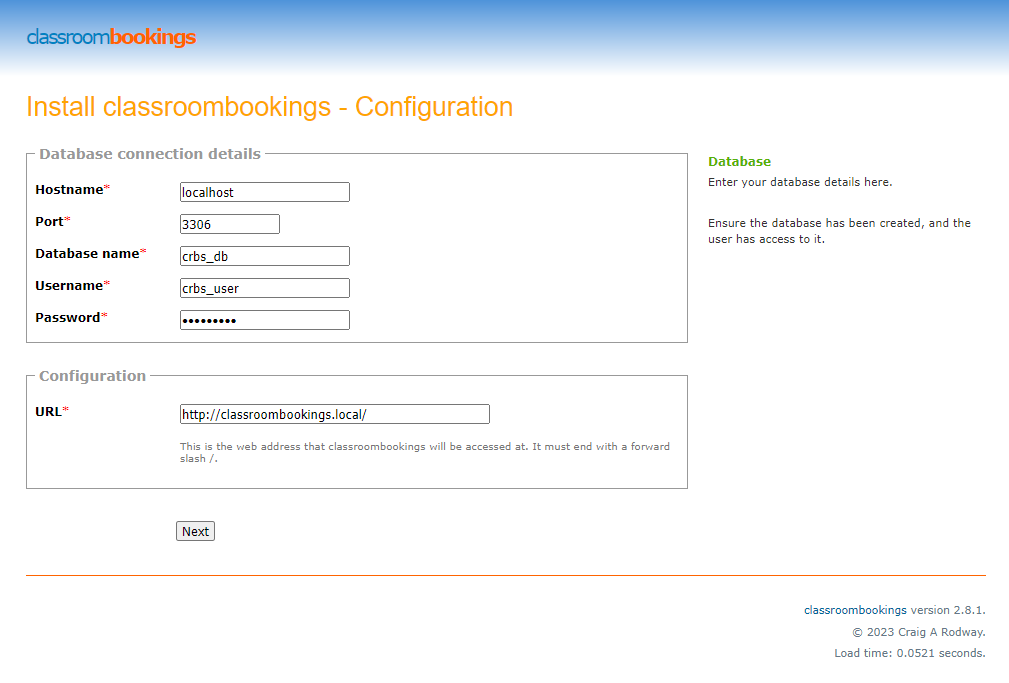
In the Database connection details section, enter the details for connecting to your database.
In the Configuration section, ensure the auto-detected URL matches the address that will be used by all users to access classroombookings. If it is not correct, change it to the address that will be used.
Click Next. The installer will test the database connection using the details provided.
If the database connection test was successful, the next page will be displayed. Otherwise, an error message will be displayed.
Please remember to create your database first.
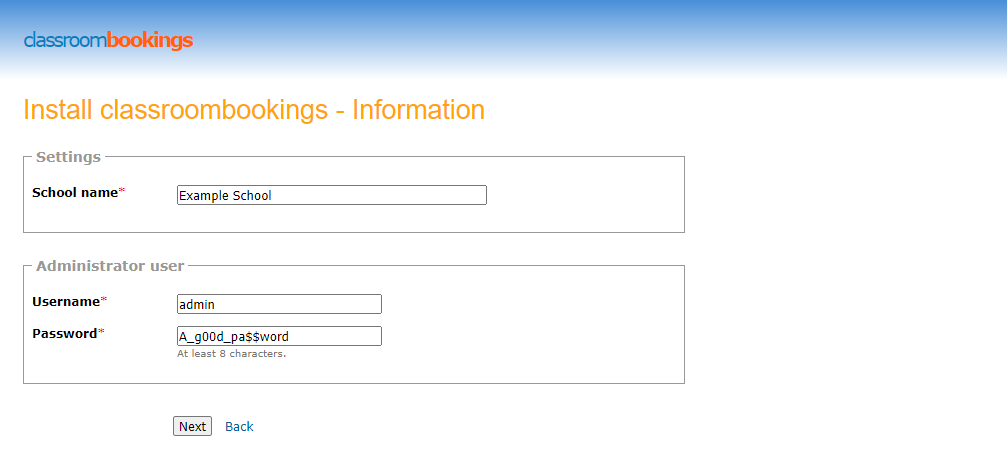
On the next page, provider a name for your booking system.
Enter a username and password for the initial administrator-level user. This user will be created during the installation process. Remember the details you use, as you will need them to log in after the installation process.
Click Next.
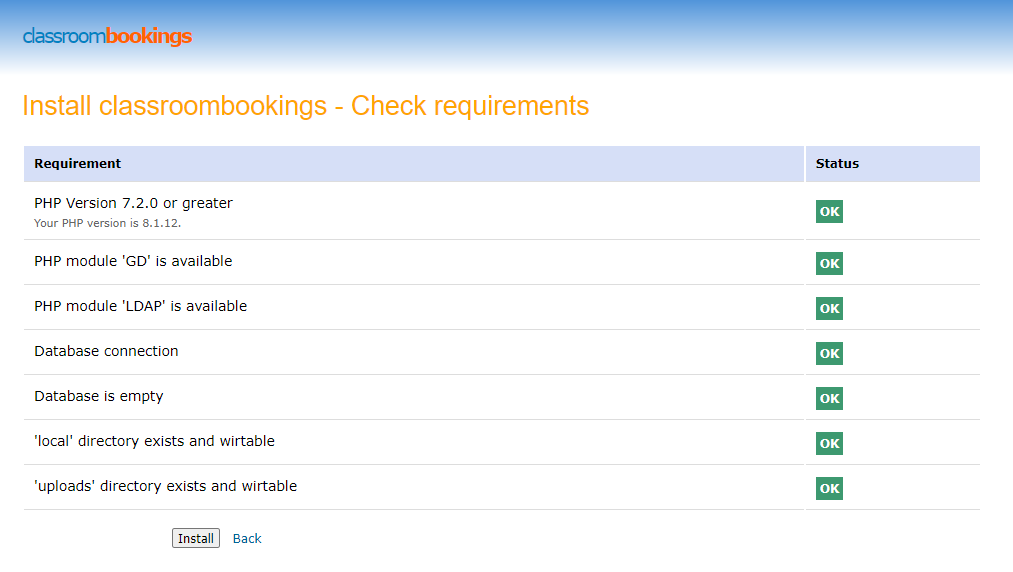
The final page checks if the requirements have been met and displays the status. If all items are OK, you can click Install.
If there are any problems, the status will show an Error indicator and some guidance notes about what needs to be done.
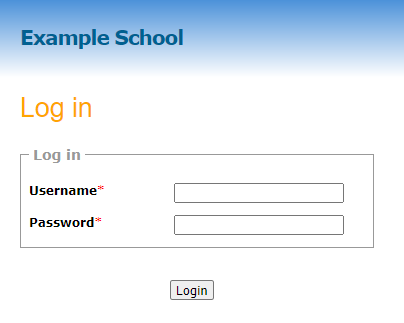
Once it has been installed, you will be redirected to the login screen. Use the administrator details you created in the previous step.